I love Pizza! But honestly, who doesn’t? As I’ve currently fallen off the Keto bandwagon I decided to take the opportunity to step up my DIY pizza game. Of course I absolutely failed with my first try. Here is what I’ve learned so far:
1. Find a basic Pizza dough recipe that works for you
If you read through all the online recipes you’ll quickly learn that the ingredients are the easiest part (this will give you 4 medium or 3 large size Pizzas):
- 500 g flour (I usually mix 250 g handy and 250 g smooth flour)
- 250 – 300 g warm water
- 10 – 15 g salt
- 2 – 5 g yeast
The process is easy:
- Dissolve salt and yeast in water.
- Mix it with flour.
- Knead with hands for 10 to 15 minutes.
- Let the dough rest for 2+ hours at room temperature. It will increase in size while the yeast is working.
Some additional tips:
- If it is available to you use a big flat box container instead of a large bowl. This will make it much easier to make the traditional perfect circle pizza shape instead of an ellipse/oval. The reason: it’s much easier cutting the finished dough into uniform squares which are a much better base for shaping. Of course you could just cut the dough and press it into any form you like. But that is exactly what you don’t want – as to not lose any air bubbles in the outer crust later on.
- Many recipes swear by letting the dough rest for 18 – 24 hours. I have used dough that had rest for only 40 minutes and it also worked OK. Honestly I did not notice a very big difference. Usually I’ll just prepare the dough the night before we have our Pizza day. Having guest I definitely recommend preparing the dough in advance.
2. Work on the perfect form
This one is the trickiest part for me. For the best end result it is important to keep air bubbles in the outer crust. Therefore you should not press the outer ring in any way. That is why it really is nice to put some thought in the container where your dough is resting as it makes this step much easier.
What worked best for me so far:
- Cut the dough into uniform pieces with a very thin blade (still inside the box/bowl). If you don’t get uniform pieces don’t worry too much. I prefer to make oval shapes instead of perfect circles. Fluffy crust is much better than circular Pizza with no good crust.
- Throw flour on the dough and in the cuts – makes it easier to get it out without pressing it flat. Best is a small square to start with.
- Put flour on the work area before you put the dough onto it. I prefer handy flour as you really don’t need much – just enough to not make the dough stick to the work area.
- There are many videos online on how to form a circle. I recommend you watch some of them:
- Never press the outer crust.
- Don’t stretch forcefully. Mostly it’s just pressing and (if you are more talented than me) you can use gravity to do the work for you. I somewhat am able to slide the Pizza dough around my fists but have not been able to master the art of Pizza tossing yet.
- If you are using a Pizza stone and shovel you can now put it on the shovel for topping.
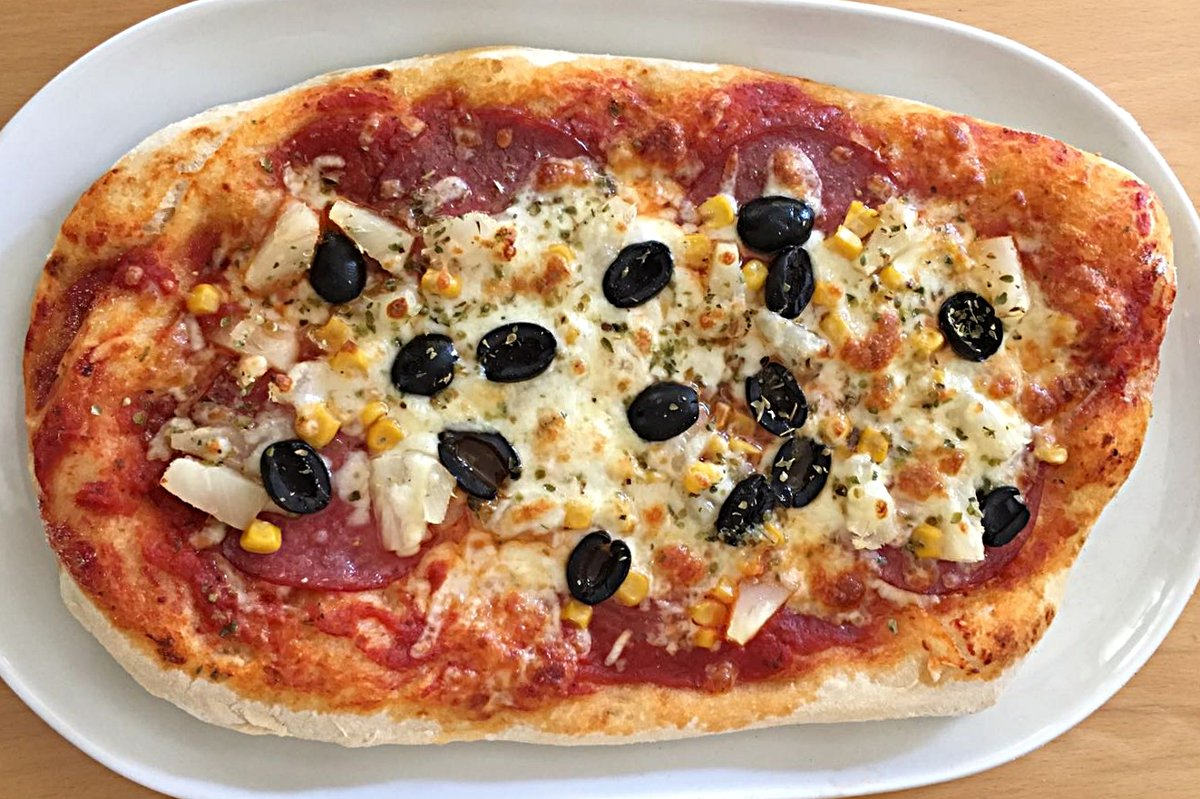
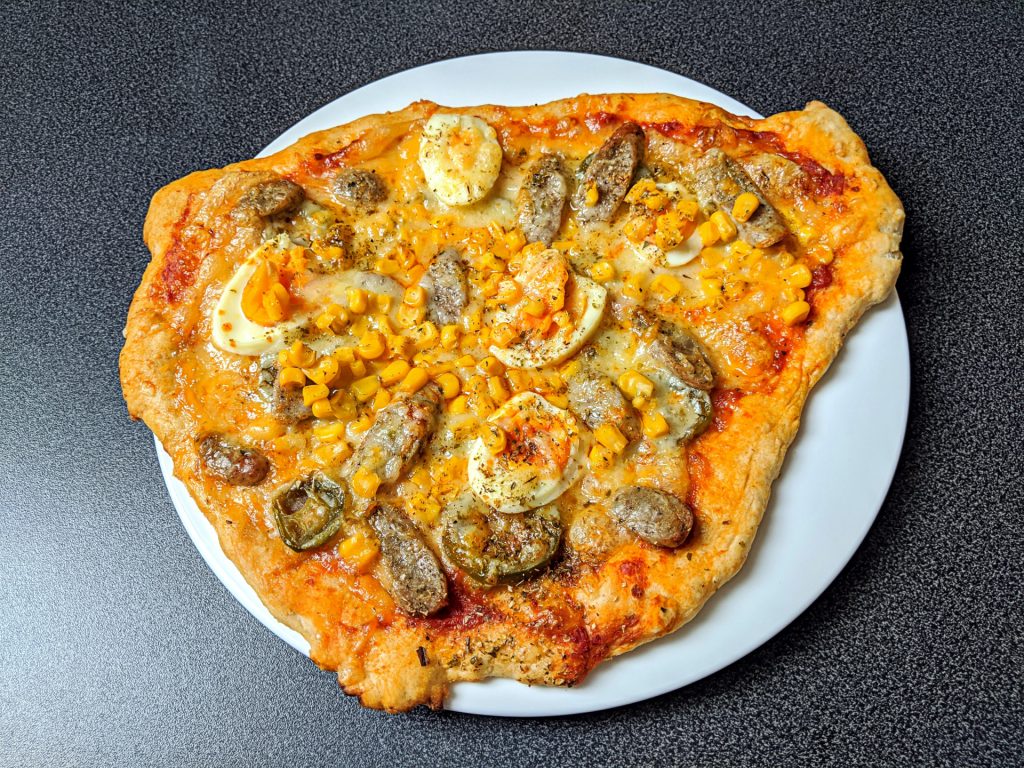
3. No shame in experimenting with toppings
The one true advantage of making Pizza at home: nobody (besides yourself) is going to judge you and your crazy choice of toppings.
Only three basic toppings that you will need: pizza sauce (= tomato sauce with any spices you like), cheese (i.e. shredded mozzarella) and dried oregano for seasoning.

4. Invest in a Pizza stone
I have made Pizza in my regular oven before but the stone really makes a huge difference. It keeps the heat and perfectly bakes the Pizza bottom. Makes for a really crispy end result.
- You just put it in the oven for ~1 hour before you put your first Pizza on it.
- You get really affordable stones at Amazon. Most recommendations online are for 3 to 4 cm thickness.
- Be careful: Try to only let the dough come into contact with the stone. At my very first try I somehow dropped half my Pizza with the wrong side down onto the stone. This caused my toppings (mostly cheese) to fuse with it. Not harmful to the stone (except some colorful stains which I don’t mind) but for this Pizza it was almost impossible to get it separated again. As a novice Pizza baker I just dropped the second Pizza on top of the remains without removing them first. This did of course not go well – same problem again. Just be sure to scrape off any remains if it happens (can be tricky while the stone/oven is hot) but it will make for a much better experience.
5. Use the power of the internet
Check out some of the many online videos and recipes. It will make the whole process much easier if you have already watched it before trying it yourself. These videos helped me the most in my preparations:
General Pizza basics
Pizza dough basics
This YouTuber also provides this really useful Pizza Dough proportions calculator: https://www.frenchguycooking.com/pizzadough
Pizza stretching and tossing tips